Configure Oracle HCM
Create the Indeed Integration Role and API user in Oracle HCM.
Who: Oracle HCM administrator
Time: ~40 minutes (one-time setup)
Use an admin account to create the Indeed Integration Role, configure security profiles, create an API user account, and get the API credentials and URL.
Step 1: Create the Indeed Integration Role
Create a role with permissions for Indeed to access your Oracle HCM data.
-
Sign in to Oracle HCM and navigate to Security Console.

Navigate to Security Console to begin role configuration -
Click Create Role on the Roles tab.

Create a role for the Indeed integration -
Enter the role details on the Basic Information screen:
- Role Name and Role Code:
Indeed Integration Role - Role Category:
HCM - Job Rules - Select Enable Role for Access.
Click Next.

Enter role information on the Basic Information screen - Role Name and Role Code:
-
Click Next twice.
-
Click Add Role on the Role Hierarchy screen.

Add role memberships to grant the required permissions -
Search for and select
Job Site REST Services, then click Add Role Membership.
Select the Job Site REST Services role 
Add the role membership -
Click Add Role again, search for and select Manage Person Disability By Worker, then click Add Role Membership.
-
Click Summary. Verify that Role Hierarchy shows the two roles you added, then click Save and Close.

Confirm both role memberships appear in the hierarchy
If your Oracle system uses location-based access control, allowlist these IP addresses and select Enable role for access from all IP addresses for the role:
3.137.9.2193.135.136.2283.137.6.2233.128.63.1953.21.142.4218.219.101.101
Step 2: Configure security profiles
Configure security profiles for the Indeed Integration Role to access all countries, people, and requisitions.
-
Click the Home icon and navigate to Administrator Workforce.
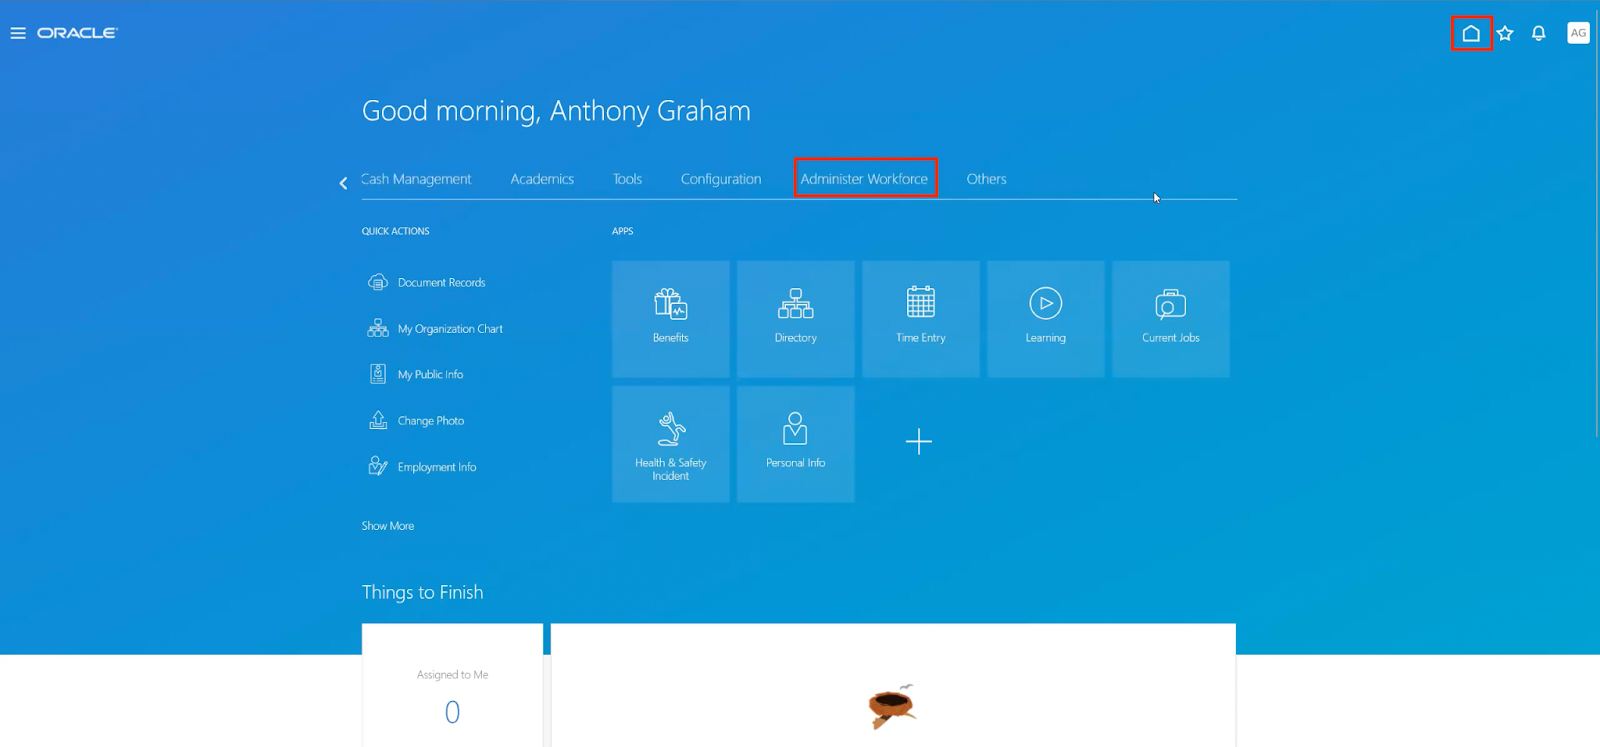
Navigate to Administrator Workforce -
Navigate to Workforce Structures.
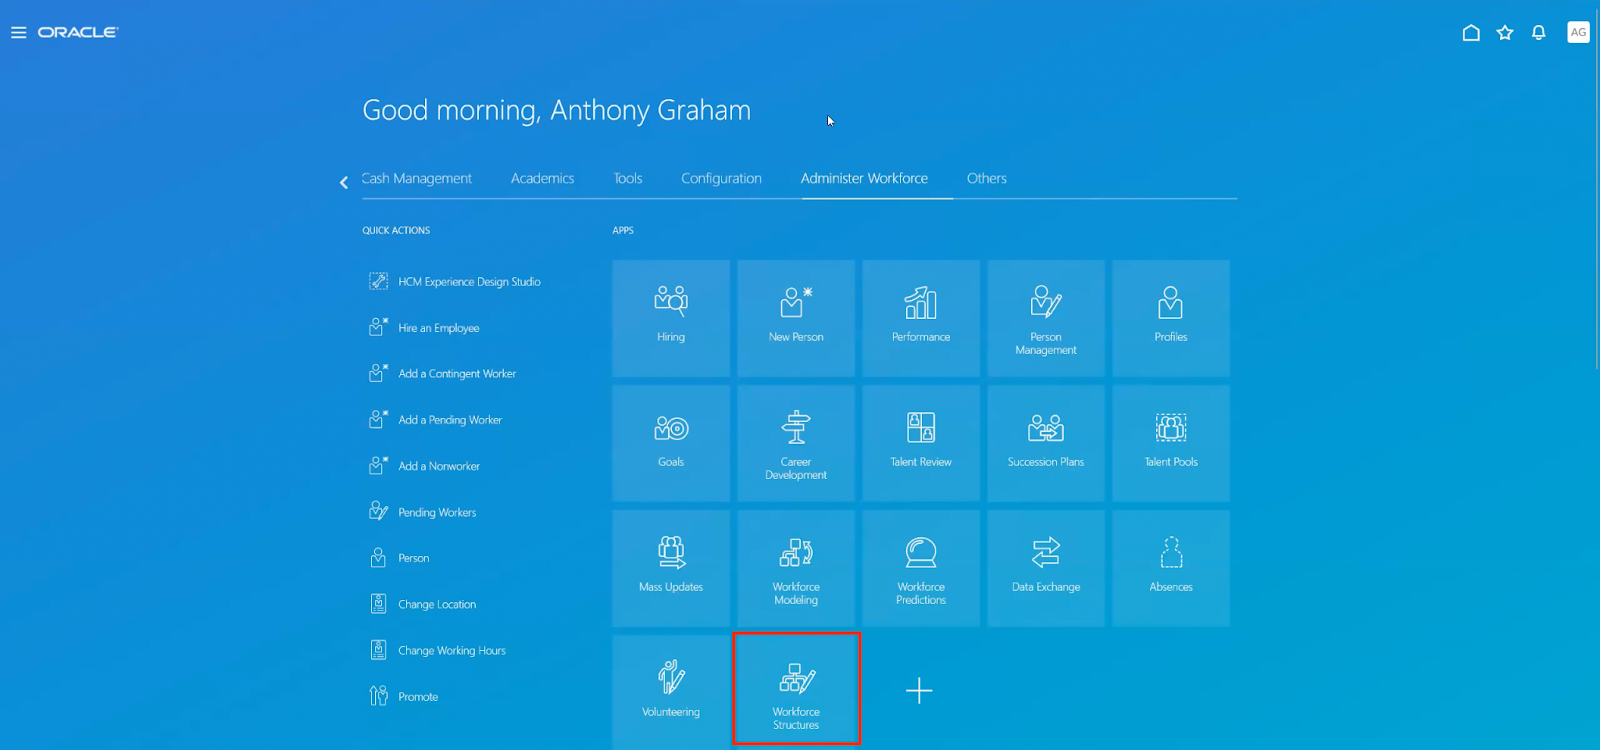
Open Workforce Structures -
Click Data Roles and Security Profiles.
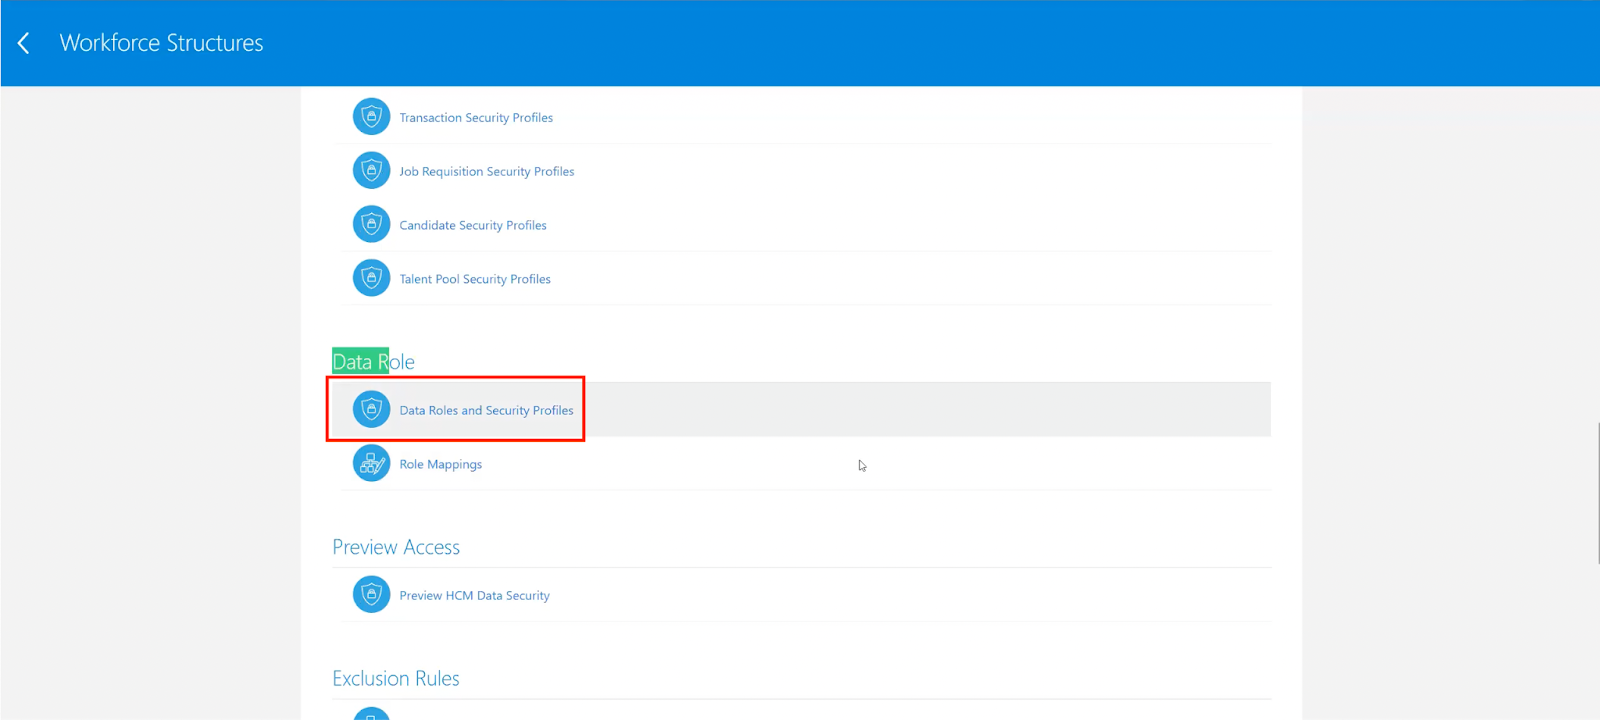
Select Data Roles and Security Profiles -
Search for the role you created (
Indeed Integration Role), and click Edit.
Edit the Indeed Integration Role to configure security profiles -
Click Yes on the warning popup.

Confirm that you want to edit the role -
Click Next.
-
Configure Security Profiles:
- Country Security Profile: select View All Countries.
- Person Security Profile: select View All People.
- Select View my Team's Requisitions, then select Review.

Configure the security profiles to grant access to all countries, people, and requisitions -
Click Submit.
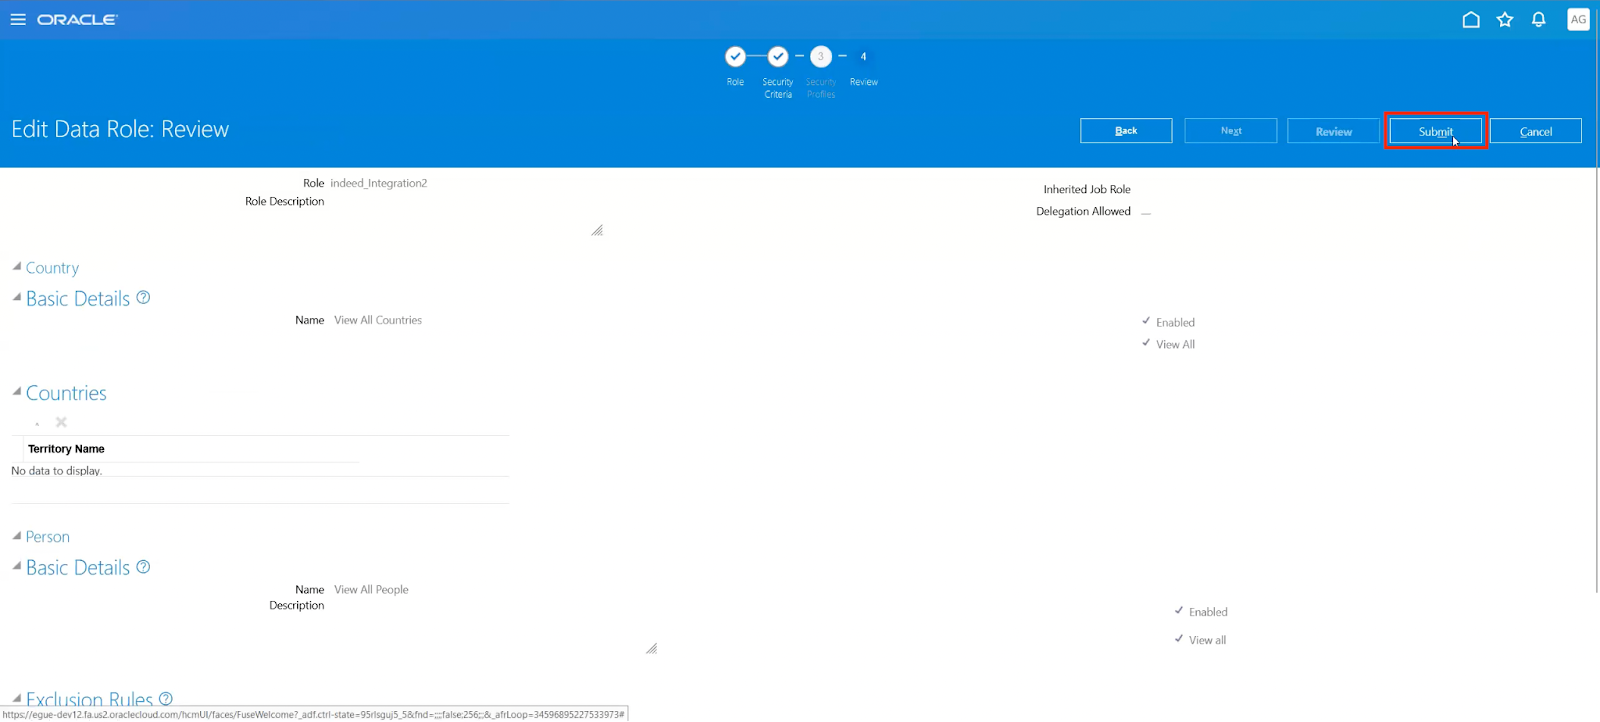
Submit the security profile configuration
Step 3: Create the API user account
Create a user account for the Indeed integration to connect to Oracle HCM.
-
Navigate to Security Console.

Return to Security Console to create the user account -
Navigate to Users.
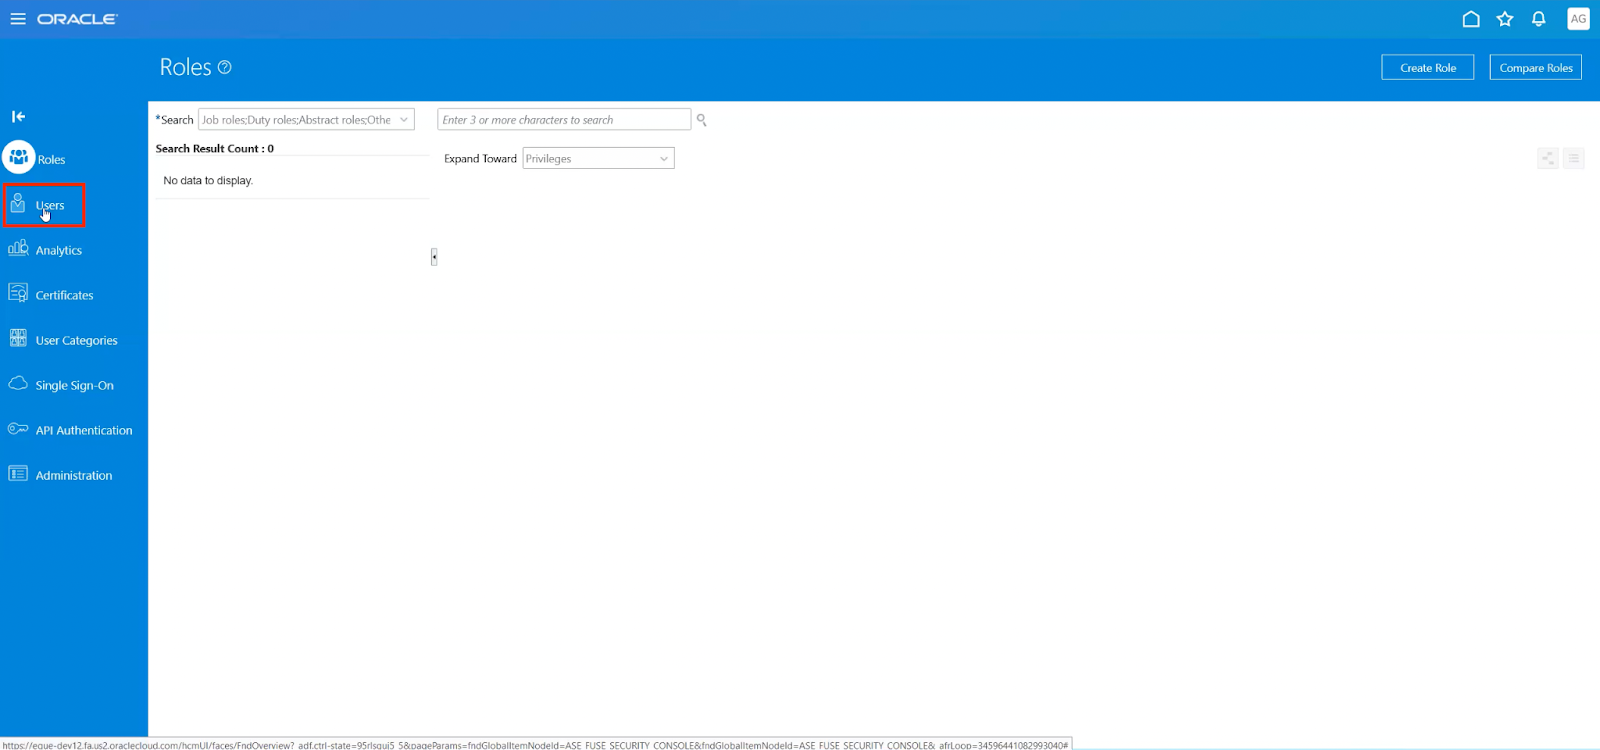
Open the Users section -
Click Add User Account.

Create a user account for the API -
Enter user information:
- Last name
- User name
- Password
- Confirm the password
Store the username and password securely. The Indeed Employer Home administrator uses these credentials to activate the integration.
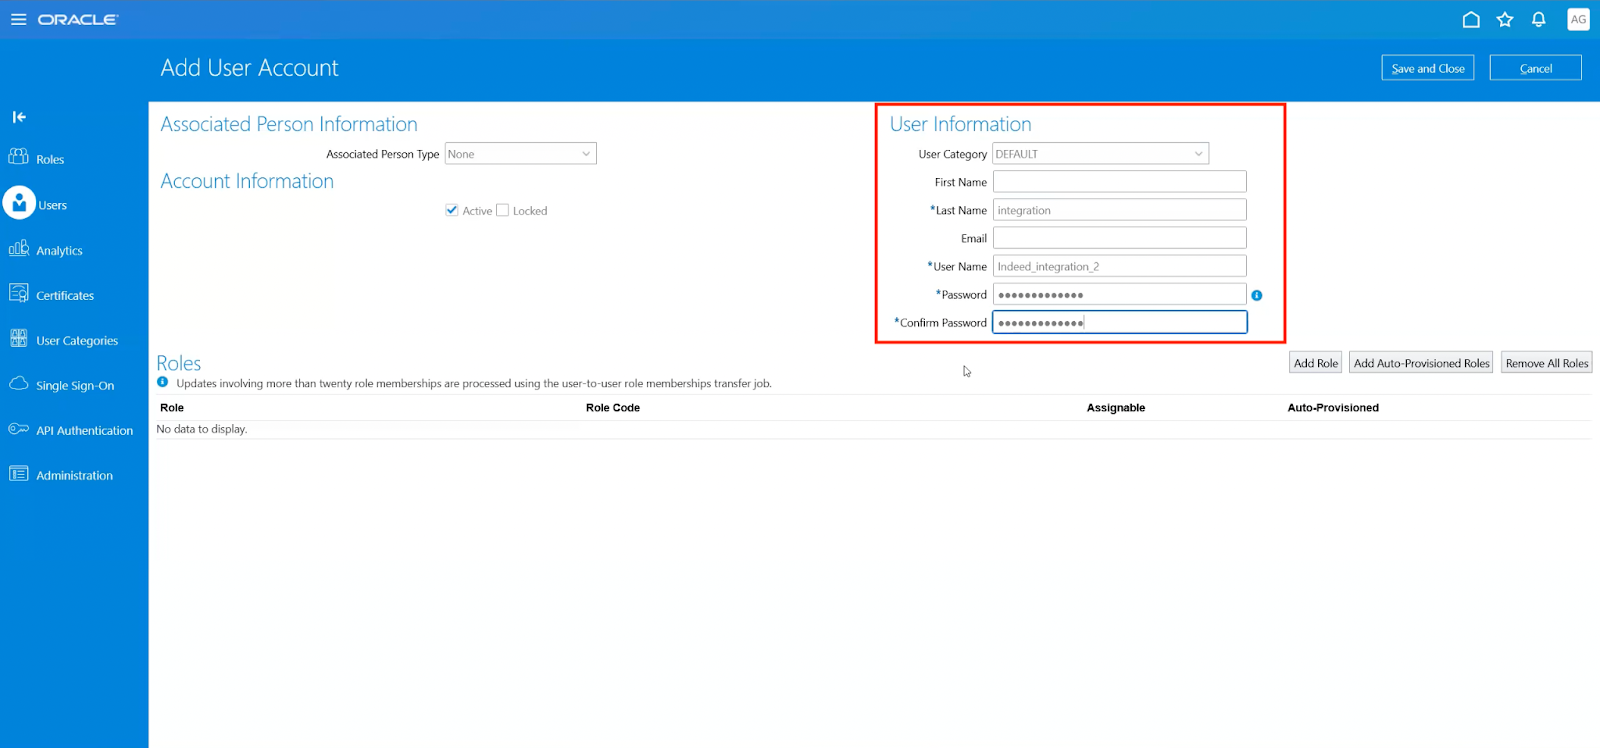
Enter the user information for the API account -
Click Add Role.

Assign the Indeed Integration Role to the user -
Search for and select the role you created earlier (
Indeed Integration Role), then click Add Role Membership.
Search for the Indeed Integration Role 
Add the role membership to the user -
Click Save and Close.
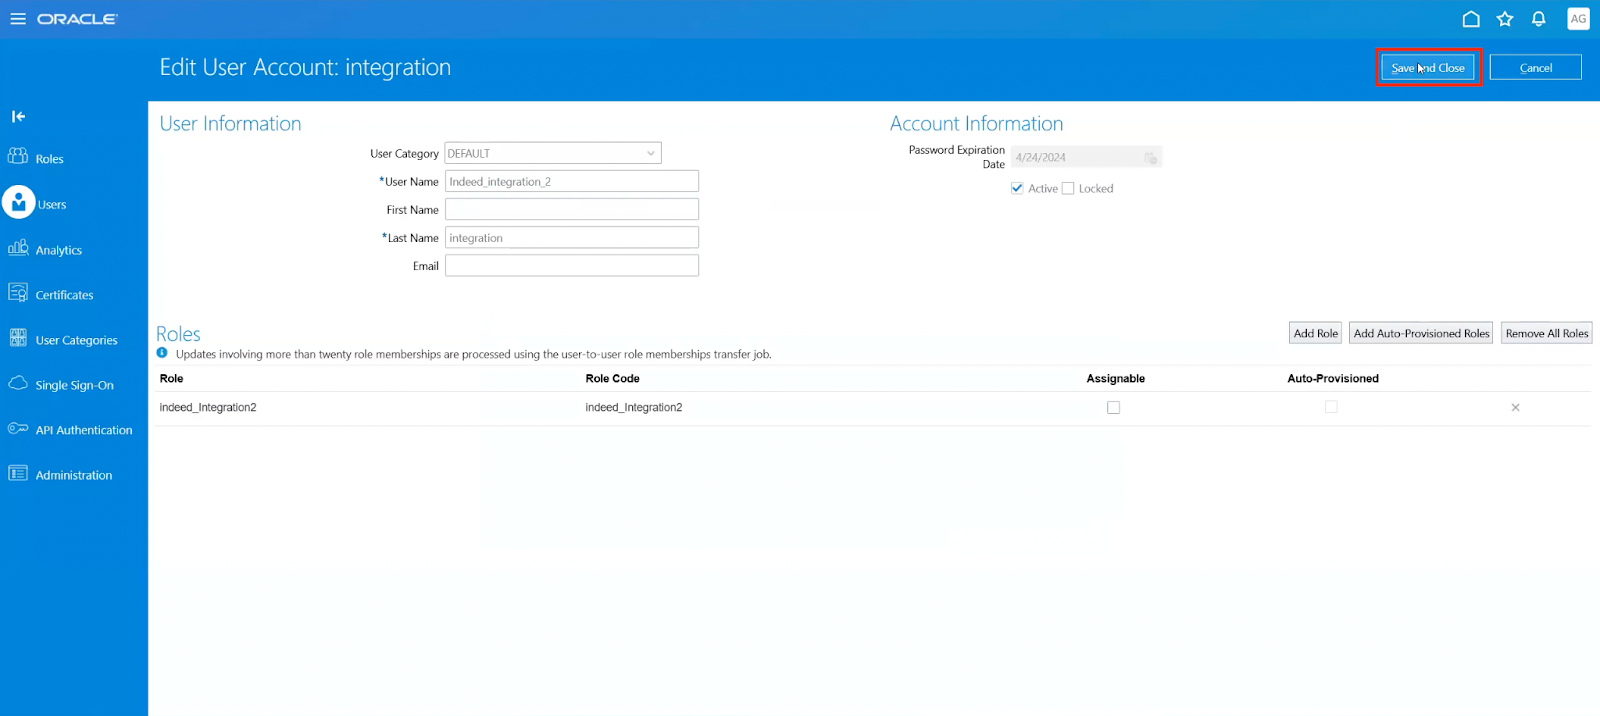
Save the user account
Step 4: Get the API URL
-
While signed in to Oracle Recruiting Cloud, copy the base URL from your browser's address bar.

Copy the base API URL from the browser address bar
Step 5: Share information with the Indeed administrator
-
Securely send this information to your Indeed Employer Home administrator so they can activate the integration:
- API username
- API password
- Base API URL
Completed:
- Created the Indeed Integration Role with required permissions.
- Configured security profiles for country, people, and requisition access.
- Created an API user account.
- Got the base API URL.
- Shared credentials with your Indeed administrator.
Next step: